In this video, we bring you some top tips for pegging out your awning in different ground conditions to help you get the most out of your investment.
Your caravan or motorhome awning will probably come with a set of pegs, that usually tend to be plastic or skewer-shaped. These are great for pitching on soft grassy ground in calm weather but not every pitch has the perfect conditions for these standard pegs. When on your caravan, campervan and motorhome travels you’ll come across gravel, rocky, muddy, sandy, even snowy ground, as well as wet and windy weather.
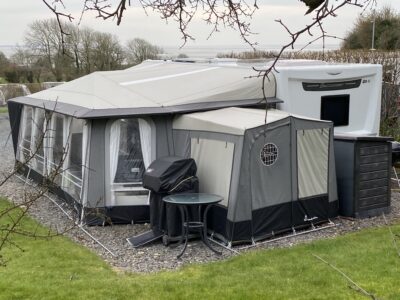
It’s therefore important to have a variety of different awning pegs to get your awning set up as secure as it can be.
Our first top tip is to ask the site owner before you travel what type of ground you’ll be pitching up on, so you can plan accordingly and pack the right pegs.
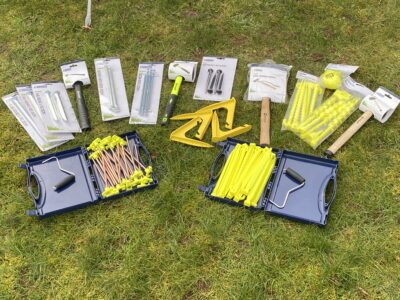
Eight great awning pegs to have in your collection
- Skewer pegs
These metal pegs are best for pegging out your awning groundsheet or footprint and work well on firm soil. If used on motorhome awning guylines or caravan awning side straps they can twist in windy weather causing the line to shed or come loose. Make sure the peg is pushed down to the ground to avoid any trips.
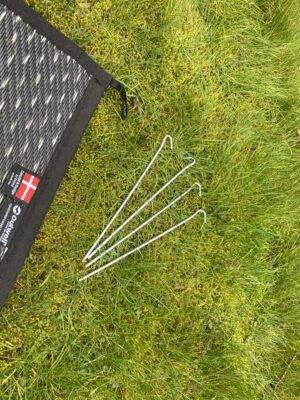
- Groundsheet pegs
These are mushroom headed pegs and as the name suggests are great for your awning groundsheet or footprint, if it’s not built into the awning, as they’ll lie flat to the ground.
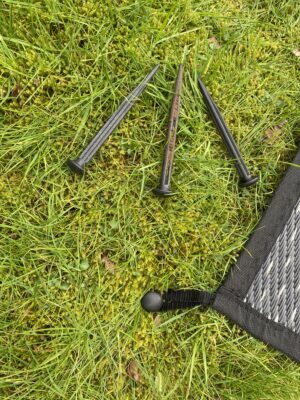
- Stake pegs should make up the vast majority of your awning peg collection and will handle most ground and wind conditions if you choose a variety of materials and profiles.
Stake plastic pegs are great for medium to soft ground like this and to peg down the side straps or guylines along the side of your awning.
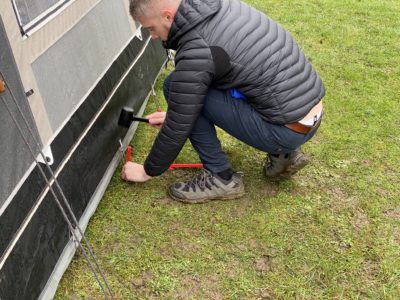
- Stake metal pegs tend to have a V or U-shaped profile, which means they won’t rotate in the wind. These are great for hard, stony ground, where a plastic stake won’t be able to cope. If you’re pitching on very soft, muddy, or sandy ground, use longer pegs. Longer stake pegs are also good for using on the corner points of your awning.
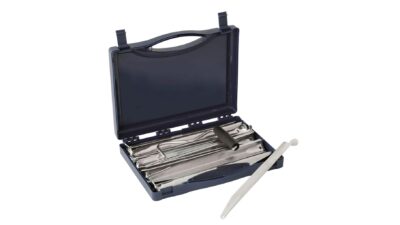
- Spike pegs
These versatile pegs will cope with most ground conditions and are a good universal peg for securing your awning’s side walls.
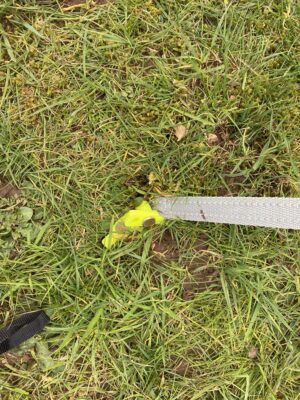
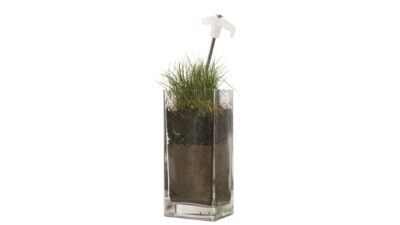
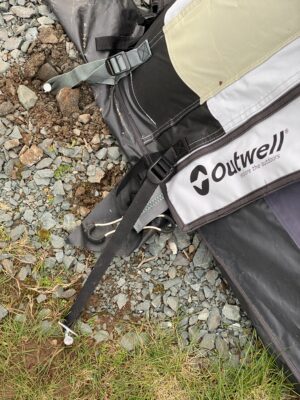
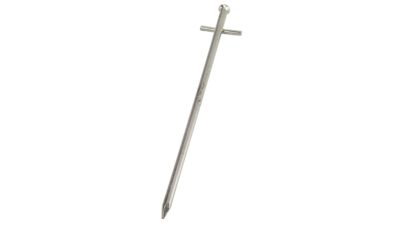
- Tarzan rock pegs
If pitching on stony, hard ground, as the name suggests, a rock peg is the best peg to use here.
- Screw pegs
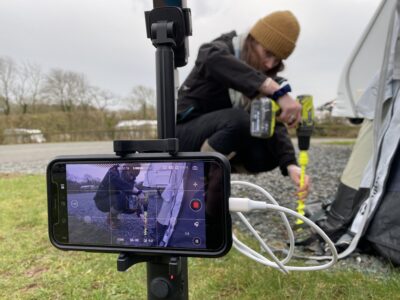
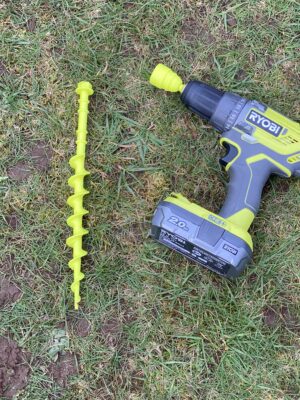
These are often used on gravel hard standings and are secured into place using an electric drill – perfect if you find it difficult hammering and bending down! There are also screw pegs available that you can turn by hand.
- Delta pegs
These come in nylon, stainless steel or Delta rock and are shaped like a number seven so that the top piece lies flush with the ground with the guyline or strap attached to the end. Delta pegs are good for when conditions are windy and to secure your storm straps or sidestraps. The Delta stainless steel and rock pegs are better for hard rocky ground and will last for years. If ground conditions are very soft or sandy a long stake peg would be better.
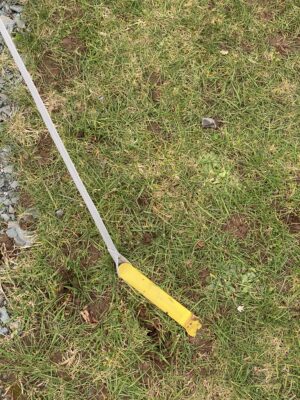
Most awnings will have corner storm straps to provide extra tension for when the weather takes a turn for the worse. For storm straps use a metal stake or Delta pegs depending on the ground. These need to be secure as they take most of the force in a wind.
Ten awning pitching tips
Other top tips for pegging out your awning and looking after your awning pegs are:
- Make sure you use the correct mallet or hammer for the pegs. A good rule is plastic on plastic and metal on metal. Don’t use your feet to push in your awning pegs, even when ground conditions are soft, as they can easily pierce a soft shoe. Using a mallet will help to achieve maximum holding power.
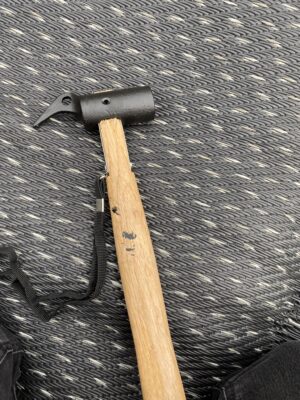
- Make sure before pitching up your awning that you clear the ground of any debris, such as leaves and twigs.
- Always fully peg out your awning, using all the pegging points, as you never know when the weather might turn.
- Don’t just take one type of peg for every pegging point. Mix and match your pegs to suit the various conditions.
- Hammer stakes and pegs straight into the ground at around a 45 degree angle for maximum security and with the hook away from the awning. Make sure the awning panels are nice and tight, as well as the awning straps.
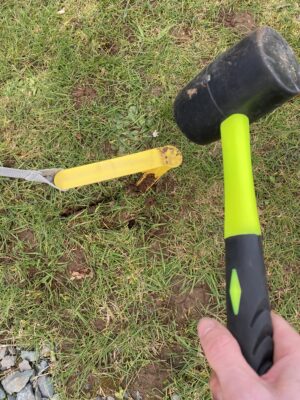
- Where a panel meets the main part of the awning, you can cross over the pegging points for extra tension.
- Once your awning is fully pegged out, make sure the panels and roof are taut, and if necessary re-peg those points.
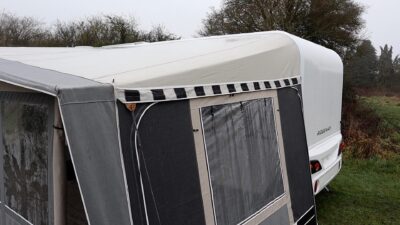
- In windy conditions, weak pegs can be strengthened by cross pegging. This is where a second peg is driven in at right angles to the main peg. Its head crosses over the main peg to help prevent the wind from ripping it out of the earth. In extreme conditions, a third peg can be driven in from the other side to provide even more resistance.
- When taking down your awning, always use a peg extractor to remove your awning pegs as this will make the job far easier and prevent any accidents or damage to your pegs
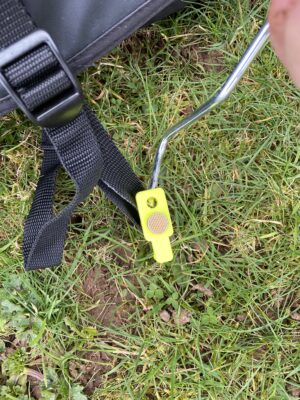
- Clean your pegs before you pack them away or when you get home to keep them in a good condition.
You can also watch our video on how to set up your awning for maximum strength.
And don’t forget, Caravan Guard’s motorhome and caravan insurance policies will pay for storm damage to your awning or leisure vehicle, but setting up and securing your awning correctly will help to protect it from unnecessary damage.
Over to you…
Got any advice on how to peg out your awning on different pitch types? We’d love to hear from you. Simply comment in the box below.


Very well presented article, I have seen expensive awnings totally trashed by simply using the wrong pegs, I usually storm rig no matter what the weather is like when pitching up it saves the panic of trying to storm set in the middle of a storm and believe me that is not a pleasant task.
Good video. I brought screw rock pegs as recomended last year for hardstanding in Scotland which were great. Just back from a longe weekend on hardtanding in the Forest of Dean and they would not go in! The standard spike pegs which are like 8 inch nails went in no problem.
Worth while tip ius buy a claw hammer from a DIY store. Steel head for hammering in and a claw for pulling out which you “rock” against the ground to start off. Mush cheape no doubt than speacil camping ones as well.
Thanks for your comments and tips Cenceritta
Very Comprehensive
Excellent
Excellent advice