A motorhome flat tyre, or worse still, a blowout, can unfortunately happen at any time when on your motorhome travels.
In this video, we go through the steps of changing a motorhome wheel with the help of the expert team at Lowdhams Leisureworld.
Jacking up a heavy motorhome can be dangerous and to change a motorhome wheel you not only need the correct equipment and tools but you also need to make sure you’re on suitable, flat and solid ground.
If your location is in any way dangerous or you’re not able or confident to change your motorhome wheel then contact your motorhome breakdown provider.
Some new motorhomes might also not have a spare wheel but will likely have a tyre inflation kit instead. This chemical solution is sprayed into the tyre where it expands and fills the hole as a temporary fix, allowing the tyre to be used for a short distance until you can get to a tyre repair shop to replace it.
Tools for changing a motorhome wheel
If your motorhome has a spare wheel it should also come with a spare wheel kit, which will include a jack, wheel socket, wheel brace and locking wheel nut socket. So the full list of items you’ll need is:
- A jack
- A wheel socket
- A wheel brace or torque wrench
- Locking wheel nut socket
- Gloves
- Pump with pressure gauge
Step 1: Find the spare wheel
In some motorhomes, the spare wheel is stowed away under the bed, some on the rear door, but most spare wheels are stored underneath the motorhome.
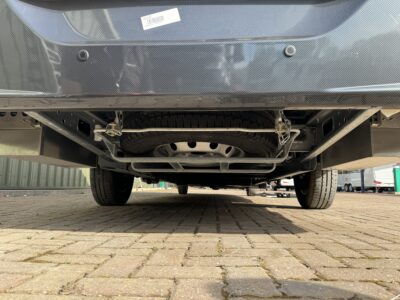
Different manufacturers have different methods of securing the spare wheel in place, so check your handbook on how to remove it first.
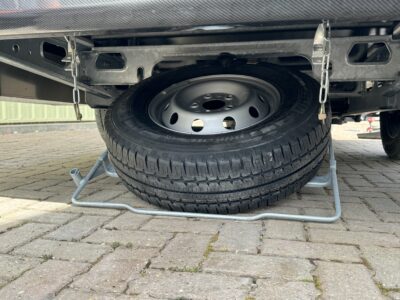
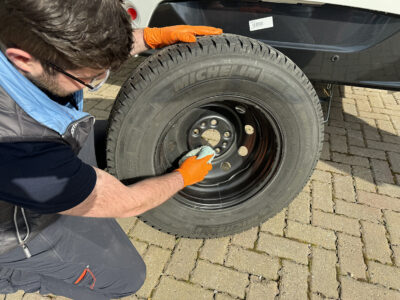
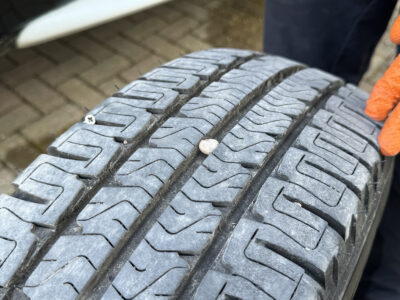
Once the spare wheel is released from the motorhome, check its condition is suitable for use, that its age is within five years and that it doesn’t have any cracks, splits or bulges. It’s also worth wiping over the faces of the spare wheel to remove any debris or dirt.
Step 2: Loosen the wheel bolts
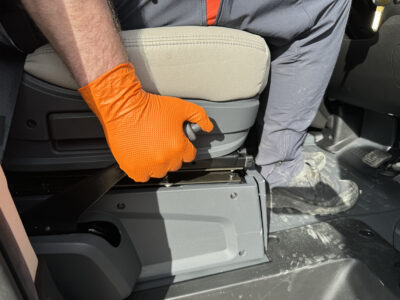
Apply the handbrake and make sure there are no people or pets inside the motorhome.
Using the socket and wheel brace, loosen the wheel nuts on the motorhome wheel that needs changing.
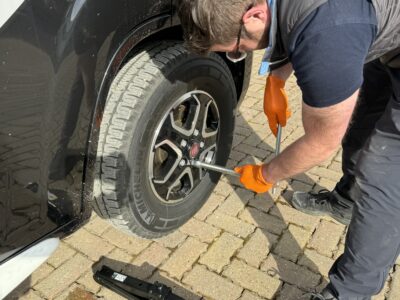
Step 3: Jack the motorhome
Your motorhome will have a jacking point at each corner of the motorhome. Use these points and not any other part of the motorhome. Check your manual for where these are if you’re unsure.
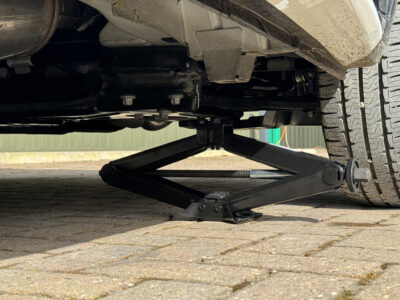
Position the supplied jack underneath the motorhome and hand turn it until it’s almost at the correct height of the motorhome. Then position it underneath the motorhome’s dedicated mounting block before continuing to raise the jack until the jacking point is reached.
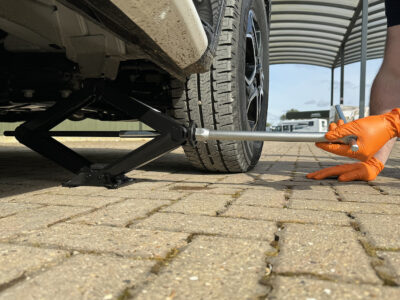
Making sure that the jack is on solid ground and is flat to the floor, raise the jack until the motorhome wheel is clear off the ground. Use the supplied handle to add extra leverage to the jack – it can become heavy and might need some extra effort to lift up the motorhome. Make sure the motorhome is off the ground enough so that the spare wheel can be placed on the wheel hub.
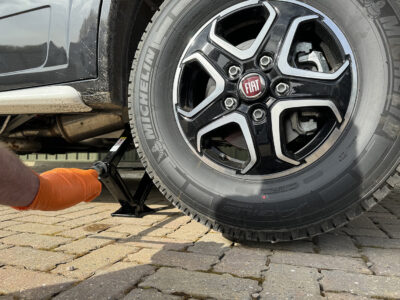
Step 4: Remove the wheel bolts
Remove the wheel bolts from the wheel, leaving the bottom nut until last. Then, pull the damaged wheel off the motorhome and set aside ready to go back on the spare wheel carrier.
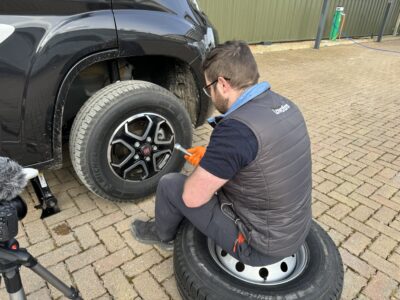
Step 5: Attach the spare wheel
If your motorhome has alloy wheels, and the spare wheel is steel, the spare wheel kit will probably include a set of wheel nuts. It’s important to use these wheel nuts with the steel wheel as they’re a slightly different shape and will fit the wheel better.
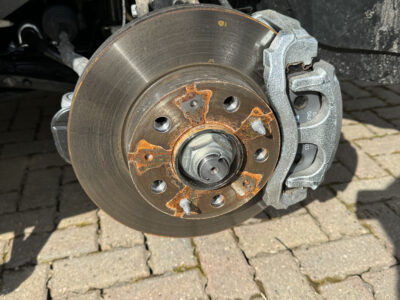
The hub of the motorhome will have two locating pins. These locate on the spare wheel in one orientation only and it might take some shuffling to get these to line up. Be careful, as the spare motorhome wheel can be heavy.
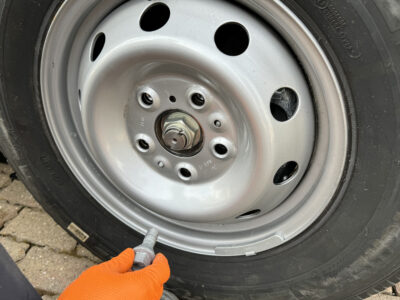
Step 6: Tighten the bolts
Once the bolt holes are aligned, add one bolt and rotate by hand to hold the wheel in place. With the wheel in place, add the rest of the bolts again until hand tight. Then use the wrench to tighten all the bolts.
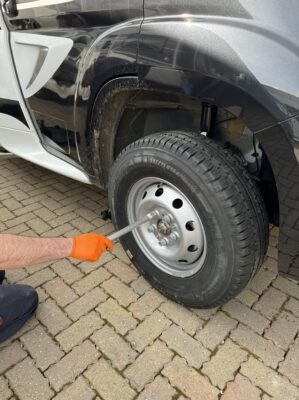
Step 7: Lower the motorhome
Remove any tools from underneath the motorhome then slowly lower the jack to return the motorhome to the ground. Once on the ground, torque the wheel nuts in a star formation to the correct setting – this will be detailed in your motorhome handbook.
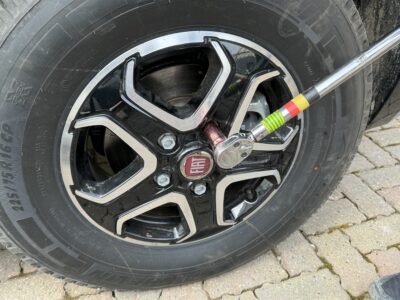
Step 8: Stow the damaged wheel
Reattach the punctured or damaged tyre and wheel to the spare wheel carrier or stow it inside your motorhome. Then, reinstate the spare wheel carrier back onto the motorhome. You can release this later on to get the tyre replaced.
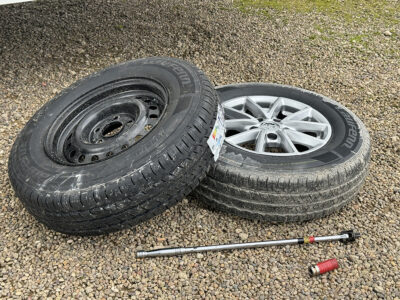
Don’t forget to gather up all your tools, then finally, check the torque of the newly attached wheel after 75 – 100 miles of travel.
Tyre Pressure Monitoring System
Using a tyre pressure monitoring system will keep a check on the pressure and temperature of your motorhome tyres when travelling and can give you an early notification that something is wrong, giving you time to find a safe place to pull over. These devices also attract a small motorhome insurance discount with Caravan Guard, as will fitting Tyron safety bands which are reviewed in our article about motorhome tyre safety.
It’s also a good idea to pack hi-visibility vests in case you’re ever stranded on the side of a road, and that you use a warning triangle behind the motorhome to warn other road users that you’ve broken down.
Our specialist motorhome insurance policy includes UK breakdown roadside assistance or recovery as standard for help in situations like a flat tyre or tyre blowout.


An excellent article and video. Have been with Caravan Guard coming up 20 years, across three Motorhomes. I’ve had the unfortunate experience with two of my Motorhomes of tyre blowouts, on both occasions the object that caused the blowout had sliced the tyre making them irreparable, and on both occasions we were on a UK motorway. The advice given in the article’s video is don’t change the tyre on a motorway, I didn’t, didn’t even contemplate it, so having made sure we were in a safe position, with hazard warning lights on and hazard triangle positioned, phoned up Caravan Guard for assistance, who informed the breakdown provider, who then contacted me within a few minutes to say they were on their way. On both occasions breakdown service arrived within an hour, changed the damaged tyre/wheel for the spare, and we were back on the road to our destination. having arrived and pitched at our destination, arranged purchase and fitting of a new tyre to replace the damaged spare. And this is one of main reasons I’ve stayed with Caravan Guard as I know their breakdown assistance works, and along with their competitive premiums of course.
Thanks for your comments Barry
Don’t leave a puncture event on the roadside to be a the trigger for the first engagement with your spare wheel and tyre! Those underslung spares are difficult to get at, mechanisms and wheel often corroded and seized fast. Rehearse in dry favourable conditions the procedure for removal and wheel change. If you are older, forget it! Get the garage to check and remove/replace the spare wheel and tyre at each service. Ensure your breakdown cover includes for wheel change.
You can thank me later.
Thanks Andrew
very good for the smaller vans but what of the larger tag axles..supplied jack is way too weak..only option is to call for assistance
Very helpfull